
Introduction
A working computer screen is essential for both productivity and enjoyment. Acer laptop screens can develop issues over time, such as flickering or damage. Instead of choosing expensive professional repairs, you can consider a DIY screen replacement. This guide provides everything you need to know to replace your Acer computer screen successfully, from gathering necessary tools to post-installation care.
Identifying the Need for Screen Replacement
Before proceeding with screen replacement, determine whether it’s necessary. Common signs that your Acer screen may require replacement include:
- Persistent flickering or dimming.
- Visible cracks or physical damage.
- Unresponsive pixels or large black spots.
- The screen not displaying images at all.
If you notice any of these issues, consider if repair or replacement is better. Minor issues, like slight flickers, might be resolved through software troubleshooting. However, for damage or severe display issues, replacement is often the best solution.
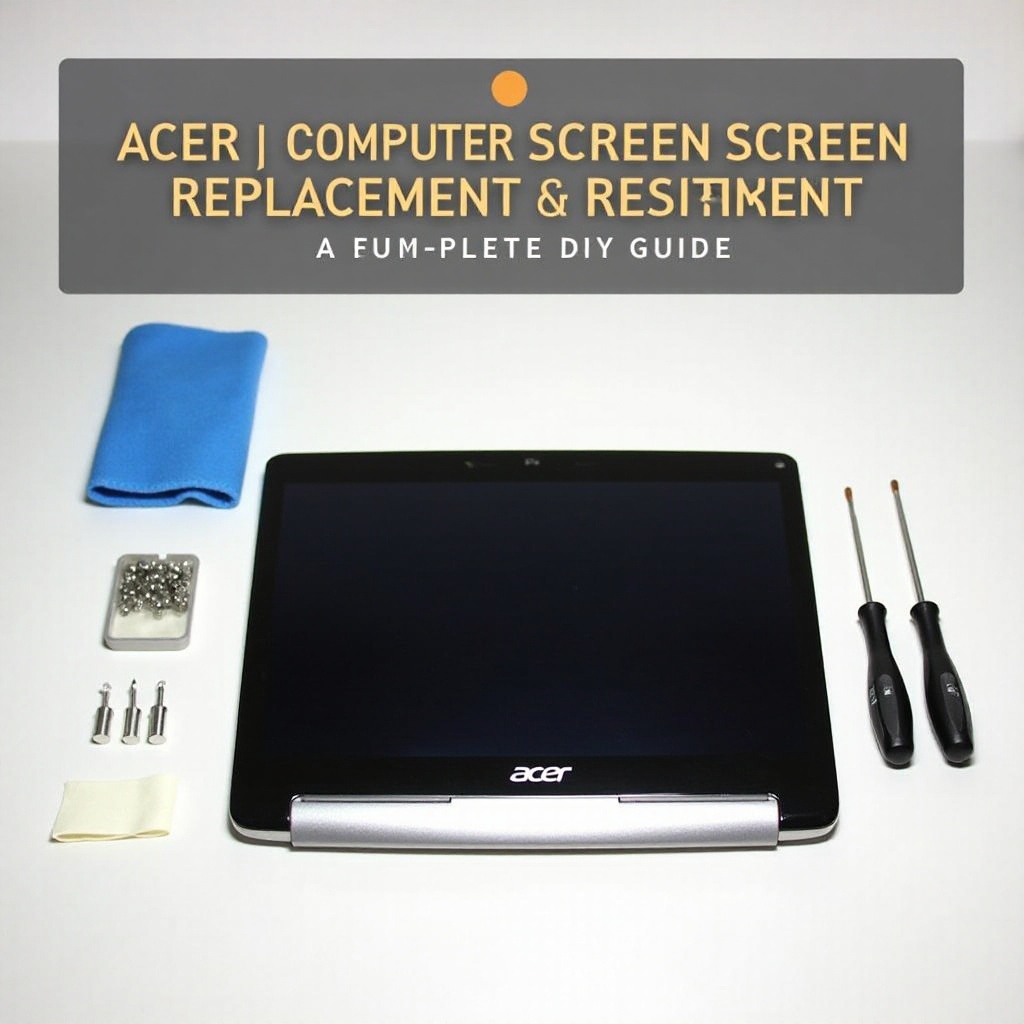
Preparing for the Replacement Process
Once you’ve decided to replace the screen, preparation is key. Here’s what you’ll need:
- Tools:
- Small Phillips screwdriver
- Safety gloves
- Plastic prying tool
-
Anti-static wrist strap
-
Materials:
- Replacement screen compatible with your Acer model
- Soft cloth
Setting the stage for your replacement process is crucial. A clean, organized workspace will help prevent additional damages. Ensure you have everything within reach and take necessary precautions to ensure safety.
Step-by-Step Guide to Replacing Your Acer Screen
Carefully follow these steps to replace your Acer screen:
- Power Off and Unplug: Ensure your laptop is powered off and unplugged.
- Remove Battery: If applicable, remove the battery to prevent accidental power-ons.
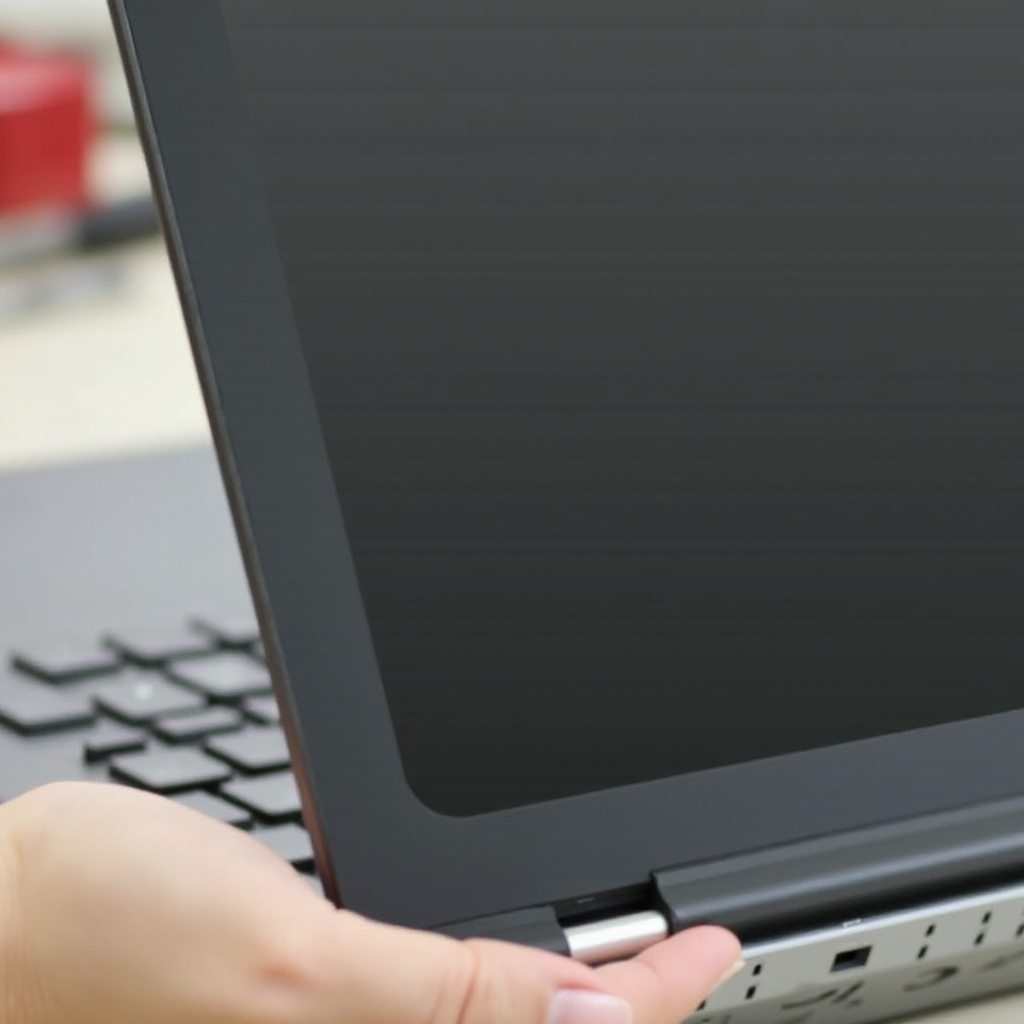
- Access the Damaged Screen: Using the plastic prying tool, gently remove the bezel around the screen without forcing it to avoid breaking.
- Disconnect the Screen: Locate and remove screws on the screen frame using the Phillips screwdriver. Tilt the screen forward to access the video cable.
- Remove the Damaged Screen: Gently detach the video cable, usually held by adhesive. Carefully remove the old screen.
- Install the New Screen: Reattach the video cable to the new screen. Fit the screen into the frame and secure it with screws.
- Reassemble the Computer: Snap the bezel back into place, ensuring everything is secured.
Once the screen is replaced, ensure that everything is reassembled correctly so your device functions as intended.
Post-Replacement Tips
With your new screen in place, it’s important to confirm everything works properly and form good maintenance habits:
- Power on your laptop and test the screen for flickering, color inconsistencies, or display issues.
- Use a microfiber cloth for regular cleaning to avoid dust accumulation.
- Avoid placing heavy items on your laptop to prevent future screen damage.
Proper maintenance will ensure your new screen lasts longer, decreasing the likelihood of needing another replacement soon.
When to Seek Professional Help
While a DIY approach is rewarding and cost-effective, sometimes professional assistance is necessary:
- If the device fails to boot post-installation, an internal component may be faulty.
- Persistent display issues indicate a possible deeper hardware problem.
- If DIY repairs are uncomfortable or if your laptop model presents unique challenges.
In such cases, weigh the costs of professional repair against the possibility of getting a new device.
Conclusion
Replacing an Acer computer screen yourself can be straightforward with the right tools and guidance. Attempting the replacement yourself can save money and teach valuable skills. Make sure you’re comfortable with every step and don’t hesitate to seek professional help if needed. Proper care will prolong the life of your new screen.
Frequently Asked Questions
How can I identify the specific screen model for my Acer laptop?
To find your screen model, check the part number on the existing screen or refer to the user manual. Search online with your laptop’s full model number for specs.
What tools are commonly needed for screen replacement?
You’ll need a small Phillips screwdriver, a plastic prying tool, and safety gloves. An anti-static wrist strap is also recommended to avoid static discharge.
How do I ensure my new screen is compatible with my device?
Ensure compatibility by buying a replacement screen using your laptop’s model number. Confirm size and resolution with the original screen’s specifications.