
Introduction
Modern TVs rely heavily on LED backlighting to deliver clear and vibrant images. When these LEDs begin to fail, the screen may appear dim or partially dark, impacting your viewing experience. Thankfully, replacing the LEDs in your TV is a task you can tackle yourself, restoring both function and extending its life. Here’s a complete guide on how to replace LEDs in your TV.
Understanding LED Technology in TVs
Before diving into the replacement process, it’s useful to understand the role of LEDs in TVs and the reasons they may need replacing. LED backlights offer the brightness and contrast needed for high-quality pictures.
The Role of LEDs in Picture Quality
LEDs provide necessary illumination, enhancing the colors and clarity of the images on screen. Their performance directly affects the picture’s quality, giving you a crisp and vibrant viewing experience.
Common Signs of LED Failure
Knowing when your TV’s LEDs need replacement can save you from further screen damage. Look out for:
– Parts of the screen that are dimmer than others.
– Flickering screen lights.
– Complete screen darkness while the TV is powered on.
Why LEDs Need Replacing
While LEDs are known for their longevity and efficiency, prolonged use or faults from manufacturing can lead to failure. Replacing them prevents further damage and ensures that your TV continues to function at its best.
Tools and Materials Required
Equipping yourself with the correct tools and materials ensures a smooth and safe LED replacement process.
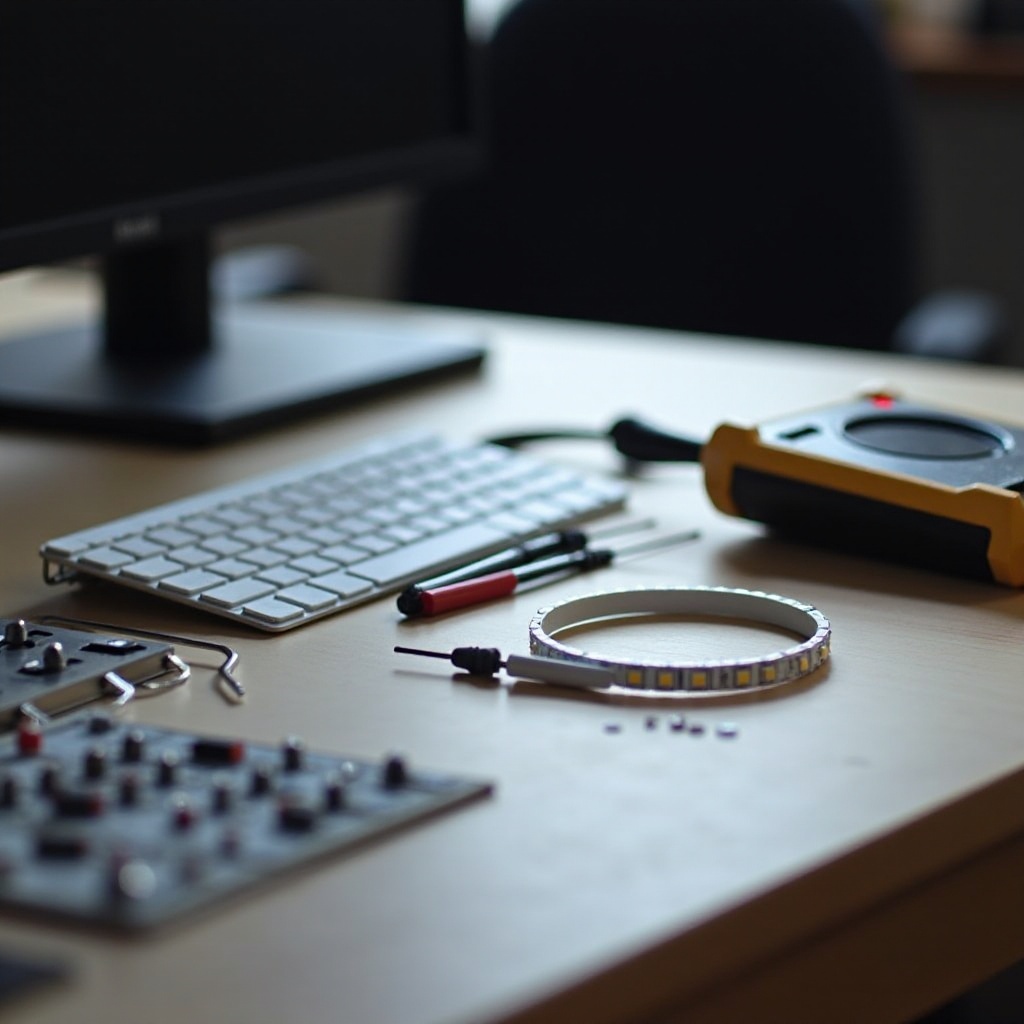
Essential Tools for the Job
- Screwdrivers (both Phillips and flat-head)
- Multimeter (for checking electrical components)
- Tweezers and spudgers (for delicate handling)
- Replacement LED strips
Safety Gear and Equipment
- Anti-static wrist strap
- Protective gloves
- Safety glasses
Having these tools and protective gear on hand will make the task easier and more secure.
Preparing Your Workspace
A well-prepared workspace is crucial to replacing your TV’s LEDs efficiently. This preparation minimizes the risk of misplacing small components and helps you focus on the task at hand.
Importance of Safety Precautions
Working with electrical devices involves certain risks. Make sure to unplug your TV before beginning and wear proper safety gear to avoid electrical hazards.
Tips for an Efficient Setup
- Set up on a large, flat surface free of clutter.
- Organize your tools within easy reach.
- Ensure the area is well-lit to see small parts clearly.
Once your workspace is ready, you can proceed confidently with the replacement process.
Step-by-Step Guide to Replacing LEDs
By following these steps, you’ll be able to replace the LEDs in your TV, restoring its full performance and picture quality.
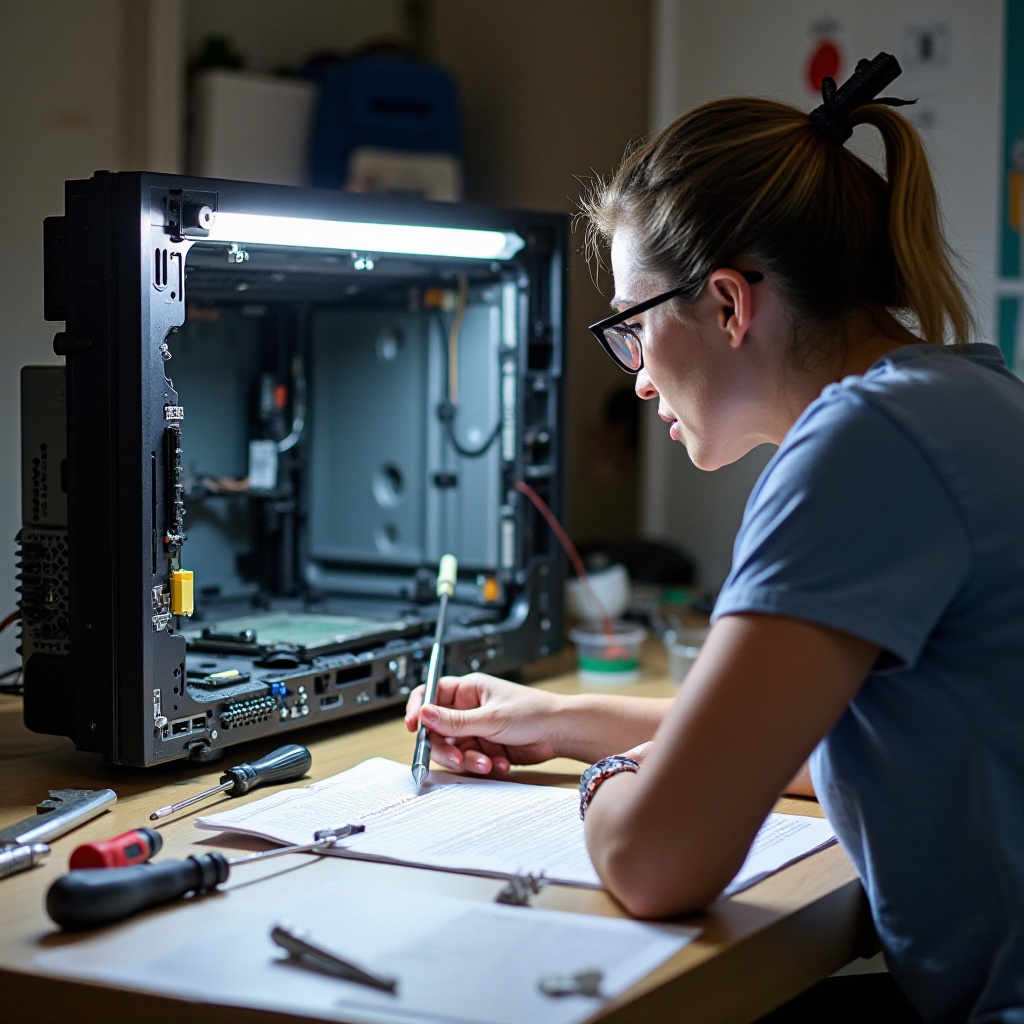
Opening Up Your TV Safely
- Lay the TV screen-down on a soft surface.
- Remove the screws securing the back panel using a screwdriver.
- Gently lift the back panel off, being cautious not to disturb internal wiring.
Identifying the Faulty LEDs
- Locate the LED strips at the screen’s edges.
- Use a multimeter to test each strip, identifying faulty LEDs needing replacement.
- Mark the defective strips for clarity.
The Replacement Process
- Carefully remove the faulty strips with tweezers.
- Install the new LED strips, ensuring they align correctly with connectors.
- Secure the strips in place.
Testing the New LEDs
- Temporarily reattach the TV’s back panel.
- Turn the TV on to check for even lighting and proper function.
- Confirm the operation before final reassembly.
Troubleshooting Common Issues
After replacing the LEDs, you might still face some issues. Here’s how to tackle common problems that may arise.
What to Do If the TV Doesn’t Work
- Verify all power and component connections.
- Ensure LED strips are properly aligned and connected.
- Review each step to catch any missed steps or loose connections.
Addressing Uneven Lighting
- Adjust the position of the LED strips if necessary.
- Double-check that all connectors are secure and conducting power.
These tips should help resolve most of the issues you might encounter post-replacement.
Post-Replacement Maintenance Tips
Proper maintenance is key to ensuring the longevity of your new LEDs and the optimal functioning of your TV.
Regular Maintenance Practices
Regular inspections ensure:
– The stability of LED connections.
– Clean, dust-free television surfaces which prevent overheating.
Maximizing LED Lifespan
- Avoid leaving the TV on for prolonged periods without use.
- Regulate brightness settings to prevent overuse of LED strength.
These practices help maximize your TV’s performance and lifespan.
When to Seek Professional Help
Despite your best efforts, some situations may call for professional intervention.
Recognizing Overwhelming Problems
- Persistent issues after replacement can signal more serious problems.
- Rapid LED failures may indicate other underlying damage needing expert diagnosis.
Finding Reliable Technicians
- Request recommendations from trusted contacts.
- Research qualifications and experience specifically in LED and TV repairs.
Seeking a professional’s help ensures that any lingering problems are thoroughly addressed.

Conclusion
The process of replacing your TV’s LEDs can improve picture quality and extend its life. By following this guide, you can perform this task confidently, ensuring electrical safety throughout. Don’t hesitate to seek professional help if you encounter persistent problems.
Frequently Asked Questions
Can I replace the LEDs in my TV myself?
Yes, with the right tools and safety precautions, it is manageable to replace the LEDs in your TV yourself.
How long do new TV LEDs typically last?
New LEDs can last several years, particularly with proper maintenance and usage habits.
What if the picture still seems dim after replacing LEDs?
Ensure all LEDs are properly aligned and securely connected; if issues persist, consider seeking a professional assessment.